Before diving in, here’s what you’ll need to complete this guide:
A gatsby site pulling content from Contentful
A Contentful account
1 blog post with 1 external link in that blog post
Importing Contentful Rich Text Types
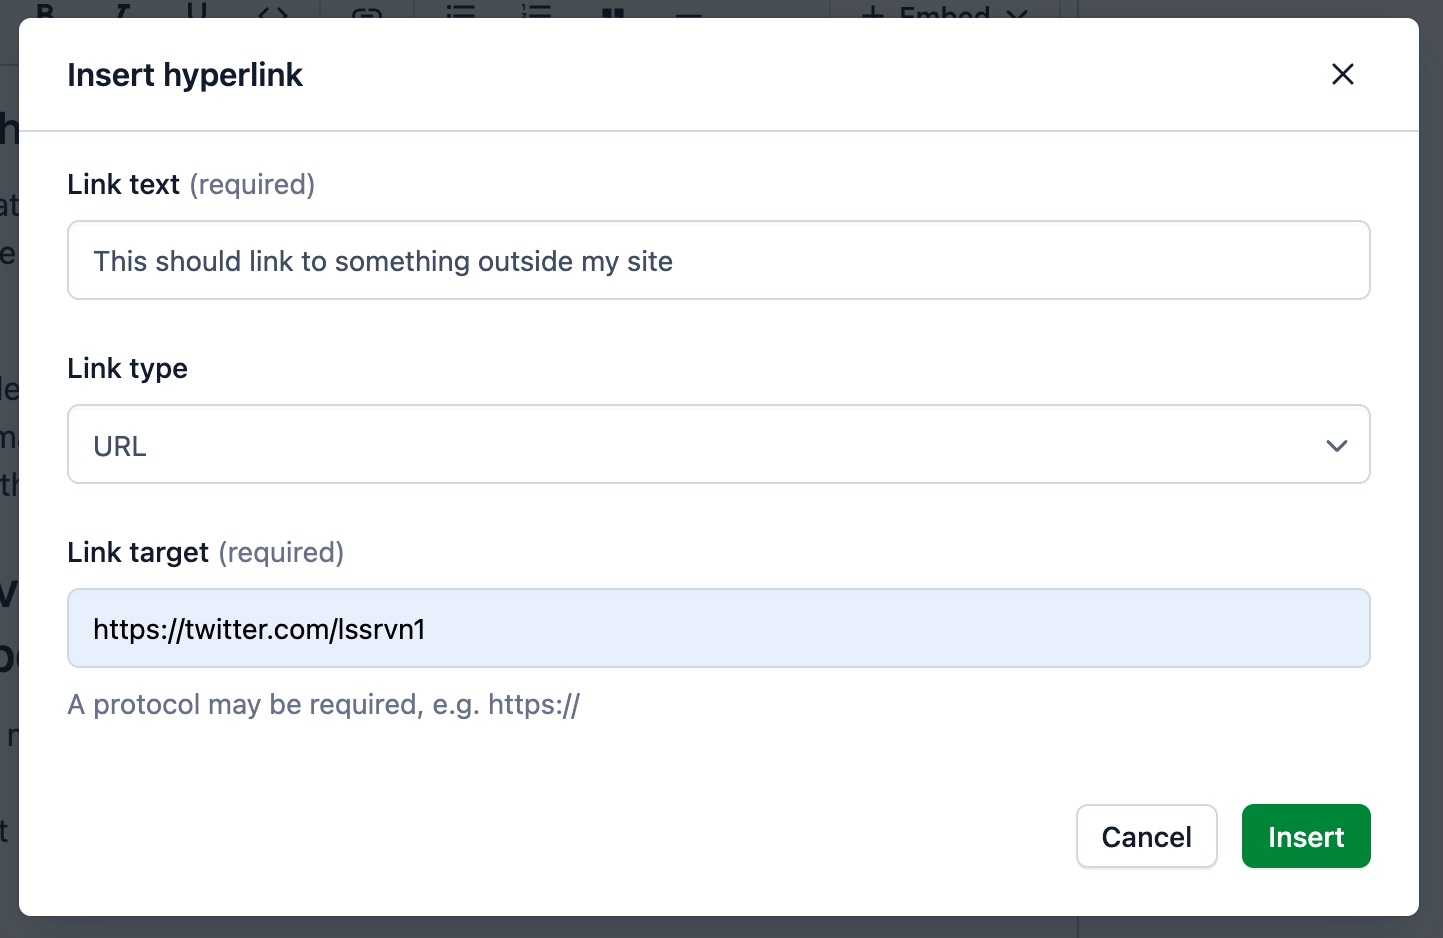
When editing your Contentful blog post and adding links, there’s no option to open those links in a new tab, so instead, we’ll add a small hack during the render of the blog post in Gatsby.

Start by going to the template file of your blog posts. Mine is named something like blog.js and is stored in my templates folder. You might have yours somewhere else.
Then add the following line to the top of that file:
import { INLINES } from "@contentful/rich-text-types";Note: if you’re already using something like Contentful Rich Text Types to modify code blocks or blockquotes, then you might already have this imported. You should just add “INLINES” to that import statement and you’re good to go.
Adding target=_blank during render
The next step is to configure some options that we’ll pass to the function that renders what we fetched from Contentful.
Our goal is to manipulate all links to external sites and ensure they’re opening in a new tab. To do so, add the following options variable somewhere after your graphql query and before your renderRichText function.
const site_url = 'https://www.lssrvn.com'
const options = {
  renderNode: {
    [INLINES.HYPERLINK]: (node) => {
     return <a href={node.data.uri} target={`${node.data.uri.startsWith(site_url) ? '_self' : '_blank'}`}>{node.content[0].value}</a>;
    }
  }
}
The first line just defines what the current URL is. In my case, I queried the URL from my gatsby-config file in case I’d copy this codebase and use it on another site and not have to go through it and change the URL multiple places.
Passing options to the ‘renderRichText’ function
The last step is to pass the options variable we defined to the renderRichText function. In my case, I’ve done this at the bottom of my template file where I’d like my post to appear. There I’ll simply add the line:
{renderRichText(props.data.contentfulBlogPost.body, options)}As you can see, I’m first passing the blog post body that I received in my graphql query and then adding the options as the second argument to that function.
Adding “nofollow” to external links
If your site contains sponsored links or affiliate links, or any sort of link that you don’t want Google to “follow” when indexing your site, you can add a ‘nofollow’ tag as well.
This tells Google’s scraper “Googlebot” to not follow that link. This setting is controlled by the “rel” attribute inside links. We’ll also add “external” to that value to tell Google and usability tools that we’re linking to an external site.
const options = {
  renderNode: {
    [INLINES.HYPERLINK]: (node) => {
      return <a href={node.data.uri} target={`${node.data.uri.startsWith(site_url) ? '_self' : '_blank'}`} rel={`${node.data.uri.startsWith(site_url) ? '' : 'external nofollow noopener noreferrer'}`}>{node.content[0].value}</a>;
    }
  }
}
If you’re interested in the different values you can pass to your links, you can read more about the rel attribute here (and notice that it opens in a new tab).
I hope you found this post useful and that you’re enjoying your Contentful/Gatsby blog a little more now!
